Solar Business Division
Providing services
Tsuji Plastics is the leading company in the Solor Road Studs industry.(system using capacitors) in Japan.
We have many types of products to make road safe.
“Solor Road Studs”means the studs for roads which flash automatically in the dark, charging electricity by solar panel
to battery. In this tiny box, all whole system is built in to guide drivers to safe way home during the night.
-
Long life
Its product lifecycle is
very long. -
All weather
The capacitor can charge
energy rainy days. -
Maintenance free
You don’t need to
change batteries. -
Securing safety
In to guide drivers to safe
way home during the night.
Classification by purpose
-
For center line
If you install the road studs for centerlines on such curves,
you can predict the angle of each curve, and prevent accidents. -
For intersection
When driving in the total darkness, you might miss an
intersection even on a road you are familiar with during the day. -
For stop line or bump
The road studs for stop lines are effective right befor entering an
intersection or a speed bump. -
Self luminous tile
It is installed in the entrance of a house, a park, a shelter, etc.,
We will secure the night scenery and safety.
Capasol power system
Please let me explain the mechanism of the power system for our road studs.
We call it “Capasol Power System” because it charges power from solar light to capacitors.
The capacitor, as you can see on the right side of the chart, can charge energy not only on sunny days but also on
rainy days. Its product lifecycle is very long and you don’t need to change batteries.
EDLC Capacitor |
Ni-Cd |
Lead battery |
Li-ion |
Ni-MH |
|
|---|---|---|---|---|---|
Operating temperature |
-25℃~65℃ |
0℃~40℃ |
0℃~50℃ |
-15℃~45℃ |
0℃~40℃ |
Charging time |
10 to 30 minutes |
several hours |
several hours |
several hours |
several hours |
Environmental burden |
low |
high(Cd) |
high(Pb) |
low |
|
Energy density |
20Wh/kg |
50Wh/kg |
25Wh/kg |
200Wh/kg |
100Wh/kg |
Cost |
△ |
〇 |
◎ |
〇 |
〇 |
Cycle life |
200,000 time |
300 time |
500 time |
600 time |
1,000 time |
Charging method |
ion adsorption |
chemical reaction |
chemical reaction |
chemical reaction |
chemical reaction |
Inspection equipment
-
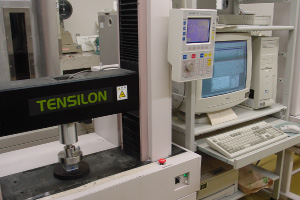
Pressure test
-
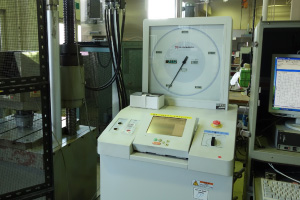
Pressure test
-
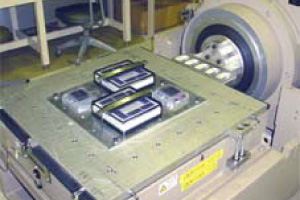
Vibration test
-
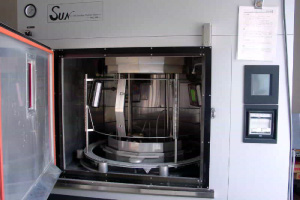
UV test
-
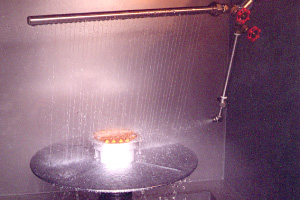
Rainfall test
-
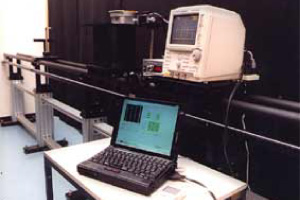
Halation test
-
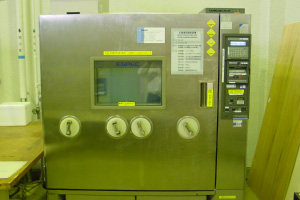
Environment test
-
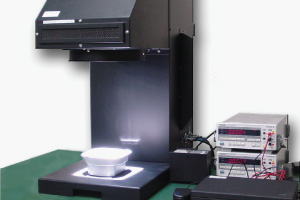
Solar simulator
Road stud installation procedure
-
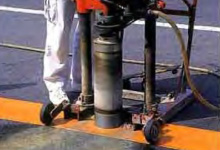
Process.01
Drilling
■ Drilling depth shall be +5mm from the bottom of main body.
-
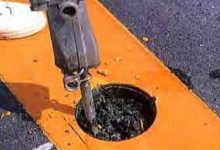
Process.02
Pavement removal
■ Remove pavement with a pick paying attention not to destroy surroundings.Care is needed not to dig too deep.
-
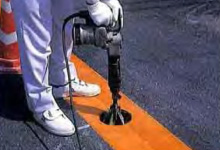
Process.03
Compaction of base surface
■ Compact base surface with a rammer.If it is too deep, adjust depth with crusher run ( C20 granular crushed stone ) and compact with a rammer.
-
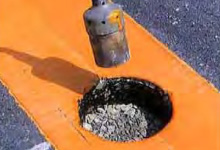
Process.04
Cleaning of side wall
■ Clean side wall of drilled hole with a waste cloth.
■ If it contains water, dry it thoroughly with a burner. -
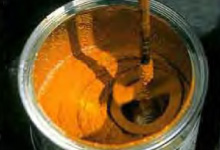
Process.05
Fixative
■ Cure the surroundings of stud with adhesive tape.
■ Pour fixative while there is liquidity to finish stud installation. -
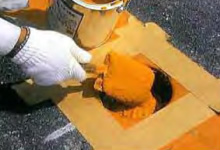
Process.06
Installation
■ Cure the surroundings of stud with adhesive tape.
■ Pour fixative while there is liquidity to finish stud installation. -
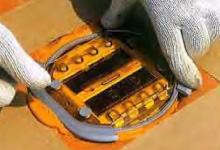
Process.07
Installation
■ After installation of stud, hit is strongly with a rubber hammer until it contacts closely to the road surface.
-
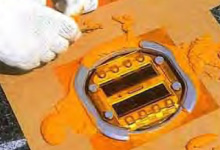
Process.08
Installation
■ Remove excess fixative with a spatula.
■ If fixative adheres on the surface of acrylic resin part, wipe off with a waste cloth.
(※ Do not use chemical reagent, alocohol at that time.) -
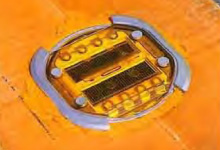
Process.09
Completion
■ When there is a high visibility lane marker, remove the rib about 30cm in front and back.
■ Check the soilidification of fixative.
